I'm a trainer. At...well, just about all but one of my jobs EVER I've trained people. There was one where I trained people in Turkey (I wasn't lucky enough to go there, but I did get my passport out of the deal). I like to think I'm good at what I do, and that I teach well. That said, if this makes no sense, feel free to ask questions. Oh, and I'll blame the quickly changing weather and the necessary drugs, too. :D
The kids have a new baby brother. Nope, not Baby D...he's old hat now. Their mom had Baby J back in August and things have been a little difficult. I remember the first 10 months of D's life when..well, no, I don't really remember them. I know I was so wrapped up in D that life was a fog. The kids suffered, though T was there with them the whole way. Finally, though, the fog lifted and I started focusing on the big kids more AND got crafty. That's where this (belated) Turkey Day tutorial comes in. This is more work for you, mom, than the kids, but if they're like mine, they'll love knowing that it's THEIR hands that are the reason and base for these shirts.
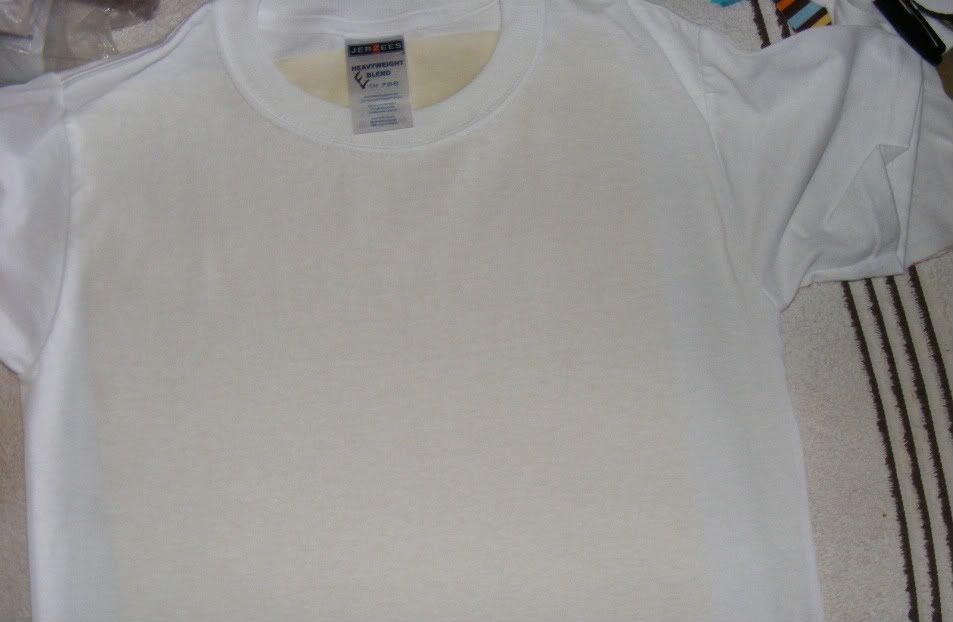
Start with a plain tshirt. This one came from the sale rack at Michael's.
Using fabric paint, press your child's hands onto the shirt to make the bodies for turkeys. I used a spray fabric paint kit from Walmart. Then I used a new Sharpie Fabric Pen to write the message.
Using a small angled brush with firm bristles, paint the legs and beaks in orange. This is also when I used the Sharpie to make a small eye on each bird, and the paintbrush to do the wattle (the hangdown piece on the beak) in red.
Finally, I used the paints to do multi colored feathers, using the fingers as a guide. On these, you can still see the fingers showing through, especially on the right pinky finger. I think it looks cute that way!
Don't forget to heat set the paints with an iron and then let your kids enjoy the shirts! And check out the headdress B and I made for his celebration!


No comments:
Post a Comment